Customizing a hat can be stressful for some. Why? Applying something to a hat without flattening or deforming it is difficult. That’s where the Cricut Hat Press comes in!
You might wonder why you chose Cricut when there are many hat-specific machines available. The reason is that other hat presses are bulky and big, while Cricut’s model is true to its design – lean, simple, and easier to use than its competitors.
This blog post will examine everything there is to know about this wonderful hat-designing machine, from its presets to setup and installation. So, let’s get right into it and see the amazing things this machine can do.
What Are the Features of Cricut Hat Press?
The first and most important thing a newbie would ask? What is so special about this tool? What can it do? Well, this smart machine is a marvelous hat designer. It designs all kinds of hats, be it beach hats, ball or trucker caps, or cowboy hats.
Its heat plate makes this machine compatible with Cricut iron-on and infusible ink sheets and pens. It has a hat-pressing form and gives a firm surface for bent materials. This comes with heat settings that you can customize yourself. The machine has three presets and can heat up to 4000 F. With this machine, you can gift someone a personalized hat crafted with high quality and made with love. And who does not like when efforts are put in for them?
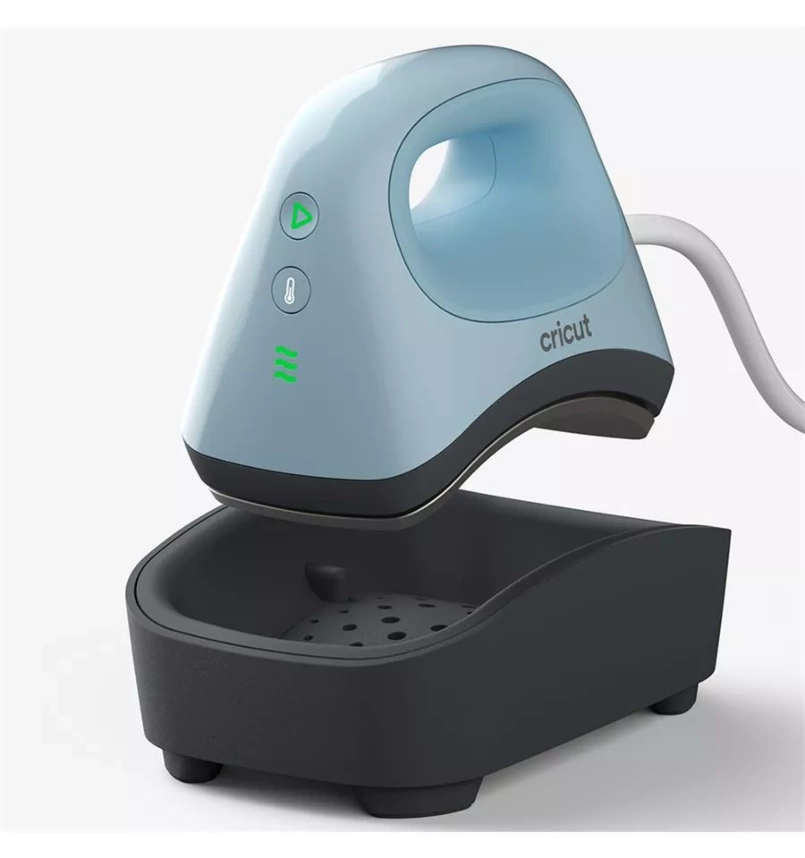
The sleek design of this tool provides ample surface area for safe heat transfer. Its natural curves reduce the risk of touching dangerous areas. The machine’s safety base keeps it in a protected position when resting. Added to all this, it comes with an auto-off safety feature that activates after 13 minutes of inactivity.
What’s Included in the Cricut Hat Press Box?
Here are the tools and supplies you will get in the box:
- Press machine
- Safety base
- Hat Pressing Form
- Iron-on design for the first project
- Heat Resistant Tape
- Quick Start Guide
- User Guide
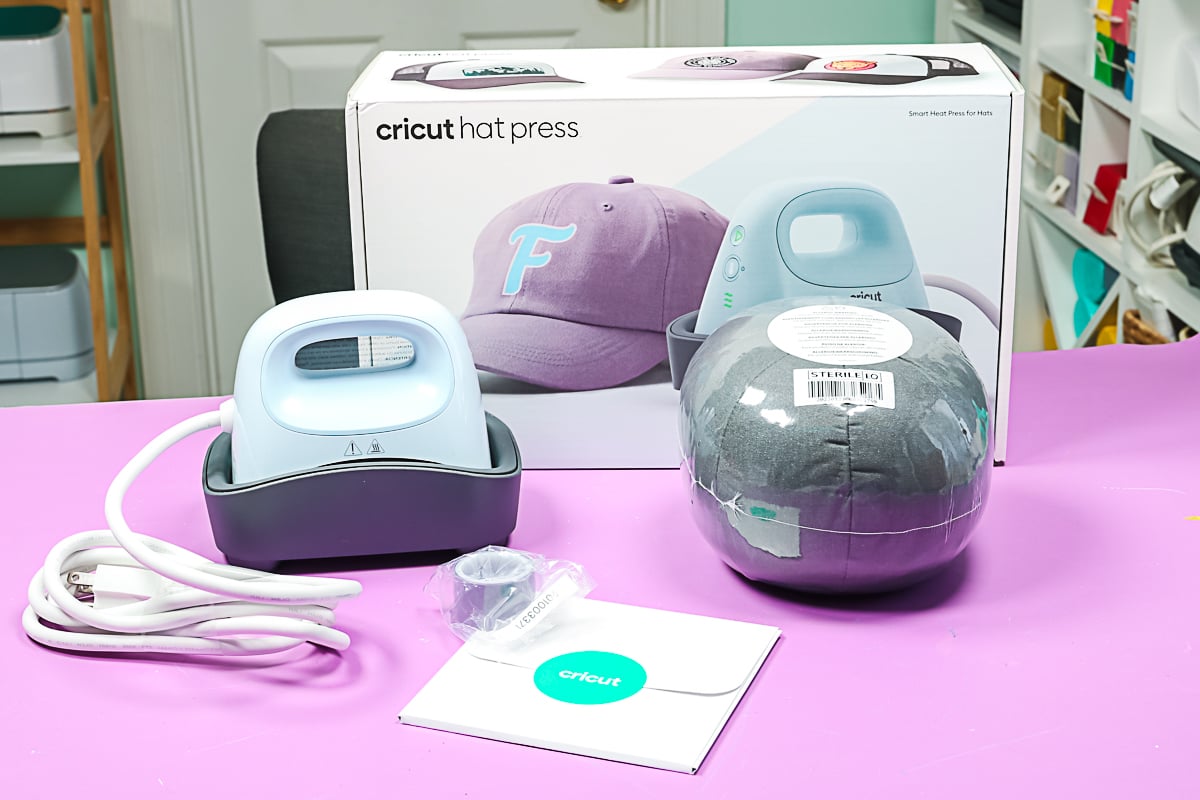
It comes with a safety base, a form, and a sample of heat-resistant tape. The tape is needed to keep the design in place so that it does not move when the machine pushes back and forth. The design mustn’t move to avoid damaging it, especially for infusible ink and sublimation. So remember not to forget about the tape and always use it when designing any hat with your machine.
How Do I Use My Cricut Hat Press Machine?
This machine works in conjunction with the Cricut Heat app. This software sends the accurate temperature and time settings to the machine from your smartphone with the help of Bluetooth connectivity. The app delivers you stepwise instructions. It has everything you need, from the pre-press process to the final peeling. One can download this free app on their iPad/iPhone or Android mobile and enjoy the pressing of their hats. So, the app lets crafters use any type of fabric for their hats worry-free, as it does not require users to guess the temperature or timer settings, thus giving them more freedom.
How to Create a Project With Cricut Hat Press?
As stated above, the process has a roll of heat-resistant tape in conjunction with the machine. The tape and the press work together to create the best kit for designing hats.
The working flow for the press machine is like this:
- First, you need to customize your design in the Cricut Design Space app.
- Then, transfer the design to the base material for the weeding process.
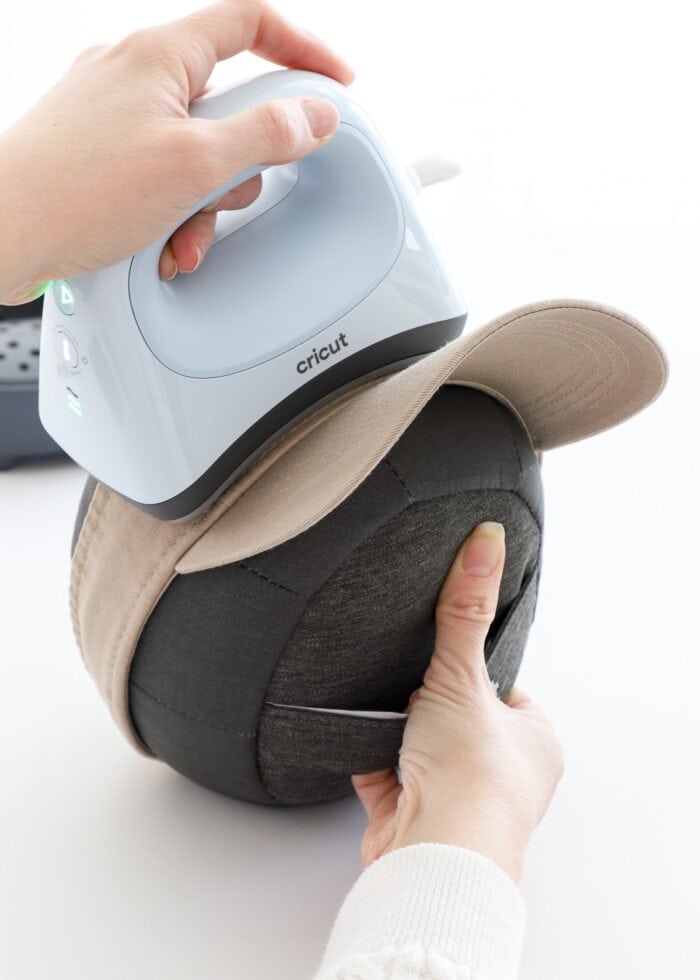
- After you finish the process, you will have to fold the sweatband and align it properly on the pressing form.
- Next, ensure that the design is attached correctly to the hat by using tape on all sides.
- Now, open the app and set the temperature and time settings. The app will send the settings to your machine.
- After following the steps, you can start using the machine. As soon as you start the press machine, the countdown begins. Once the transfer is complete, a beep sound will be heard.
When the material is cool enough to touch after some time, carefully remove the tape and the liner. The app also tells you the optimal time to peel off the liner, making the process even easier.
Wrapping Up
I’ve covered what this machine is, along with its features and what comes with the box; I have also covered how you can use this amazing machine for creating a project. The Cricut Hat Press is versatile, allowing for many styles and brands of hats. With this machine, one can use many different techniques to design custom hats. The pressing form provides a solid base with which you can firmly press designs on all surfaces of hats. This feature is exclusive to Cricut’s hat machine and is not even something you can get from other products, such as EasyPress Mini.
Frequently Asked Questions (FAQs)
Why Is My Cricut Hat Press flashing?
If the machine flashes red or orange, it shows an error. When this happens, perform a full power cycle. You can do this by unplugging the machine, waiting 30 seconds, and plugging it back in to see if the issue persists. If the machine still shows errors, you should try contacting Member Care for assistance.
What Is the Cricut Hat Press Form?
The form truly is one unique feature that sets the machine apart from other heat press machines. It contains a firm core enclosed by walnut shells alongside a cotton cover and polyester. The firm core allows one to press down the form when the walnut shells give the project to the curve of the hat.
Does Cricut Hat Press have different temperature settings?
The machine offers three temperature settings: low, medium, and high.
- Low: It is ideal for sensitive base or iron-on materials with temperatures between 255 F and 295 F. The equivalent timer for this setting corresponds to 60 seconds.
- Medium: This unit fits most base and transfer materials with temperatures from 300 F-355 F range and has a 60-second timer.
- High: It is used with infusible ink and heavy-duty materials. Its temperature range is 360 F to 400 F, and the suggested timer for this range is 90 seconds.